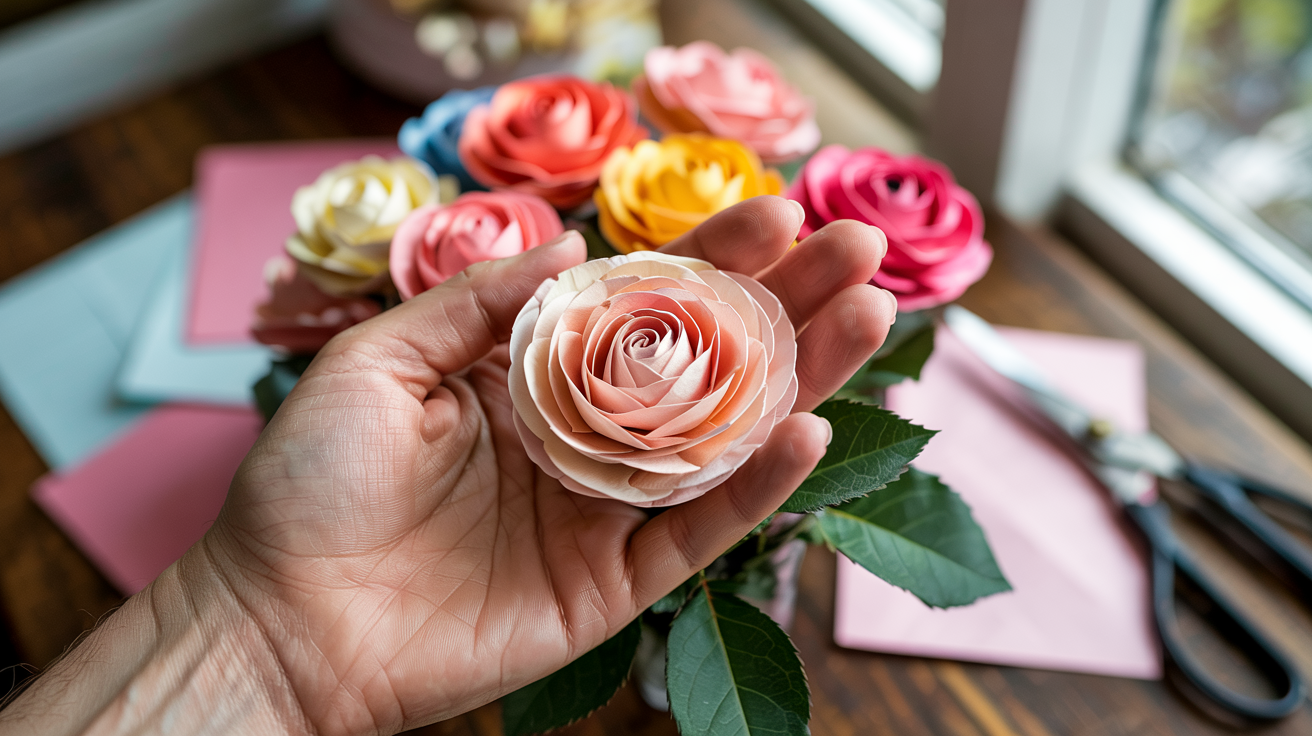
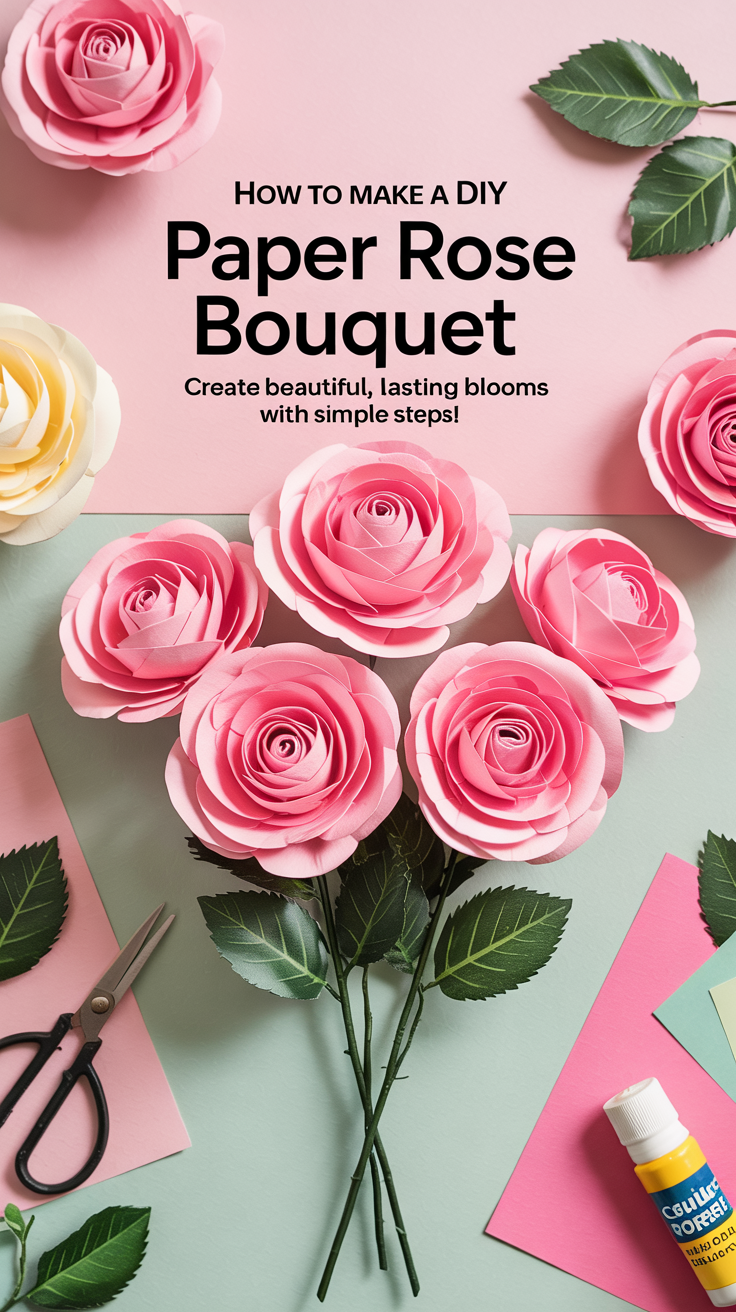
Nothing says “timeless beauty” quite like a paper rose bouquet. Perfect for home decor, weddings, or thoughtful handmade gifts, these gorgeous blooms are easier to create than you might think! Follow this easy step-by-step guide and you’ll have a stunning bouquet that lasts forever — no watering needed.
Materials You’ll Need
- Colored craft paper (or old book pages for a vintage look)
- Scissors
- Pencil
- Glue stick or hot glue gun
- Floral wire or wooden skewers (for stems)
- Green floral tape (optional for a polished stem look)
Step 1: Cut Your Paper Into Squares
Start by cutting your craft paper into squares. A 4×4 inch or 6×6 inch square works well depending on how large you want your roses to be. The larger the square, the bigger and more dramatic your finished flower will look. Use a ruler if you want sharp precision, but slight imperfections won’t hurt the overall beauty.
If you want a mixed bouquet, cut squares of different sizes and colors. Pastel shades make for a soft romantic look, while bold colors like red, orange, and yellow create an energetic, vibrant vibe.
Step 2: Draw and Cut Out a Spiral
Take one paper square and lightly draw a spiral starting from the outside moving inward. The spiral doesn’t have to be perfect! Wavy lines actually make your rose look more natural and realistic. Start by sketching a wide, loose circle and gradually tighten it as you reach the center.
Once your spiral is drawn, carefully cut along the lines with scissors. You’ll end up with a long, curly strip of paper that you’ll roll to create the flower.
Step 3: Roll the Spiral Into a Rose Shape
Starting from the outside end of your spiral, begin tightly rolling the paper inward. Keep rolling until you reach the very center. It helps to keep a little tension while rolling, but don’t stress about being perfect. Looser rolls create bigger, fluffier blooms, while tighter rolls give you a neater, more compact rose.
Once you’ve reached the center, let your rolled rose loosen slightly in your hand. This gives it a fuller, more natural look. Adjust how tight or loose it is based on the style you want for your bouquet.
Step 4: Glue the Base
At the very center of your spiral is a small circular tab. This tab acts as the base to hold your rose together. Apply a generous dab of glue to this base, then press your rolled flower down onto it. Hold it for a few seconds until the glue sets and the rose feels secure.
If using a hot glue gun, be cautious with your fingers—those tiny blooms and hot glue can be a tricky combo! Allow the glue to fully dry before moving on to attaching stems.
Step 5: Attach the Stem
To turn your rose into part of a bouquet, you’ll need to attach a stem. You can use green floral wire, wooden skewers, or even small sticks for a rustic look. Simply apply a little glue to the top of your stem material and insert it into the base of the rose.
For extra flair and durability, wrap green floral tape around the stem and base of the flower. This not only secures everything but also gives your stem a natural, finished appearance.
Step 6: Repeat and Assemble Your Bouquet
Now that you have one beautiful paper rose, it’s time to make more! Repeat the steps until you have enough flowers to form a lush bouquet. Mix different sizes, colors, and levels of tightness in your rolls to add natural variation.
Once all your roses are ready, bundle them together and wrap the stems with a ribbon, twine, or more floral tape. Arrange them loosely for a casual, romantic look, or group them tightly for a polished, formal bouquet style.
Final Touches
If you want to take your bouquet to the next level, add some handmade paper leaves, tiny paper buds, or even sprinkle in a few real dried flowers for texture. You can display your paper roses in a vase, use them as a table centerpiece, or gift them in a pretty box.
There you have it! A stunning, everlasting paper rose bouquet that looks like it took hours — but was actually easy and fun to create.
Love This Craft? Discover 19 More!
If you enjoyed making this gorgeous paper rose bouquet, you’re going to love the rest of our DIY flower craft ideas! Head back to 20 DIY Flower Craft Projects to find even more fun, creative projects to brighten your space and inspire your next crafting session!
